
Every bathroom renovation starts the same way: the old room has to come out before the new one can go in. On a recent job in the Centennial Park area of Etobicoke, near Burnhamthorpe, our crew spent the first day of a full bathroom renovation on demolition. By the end of that first day, demolition was almost finished.
Here is what day one looked like, step by step, and why the order matters.
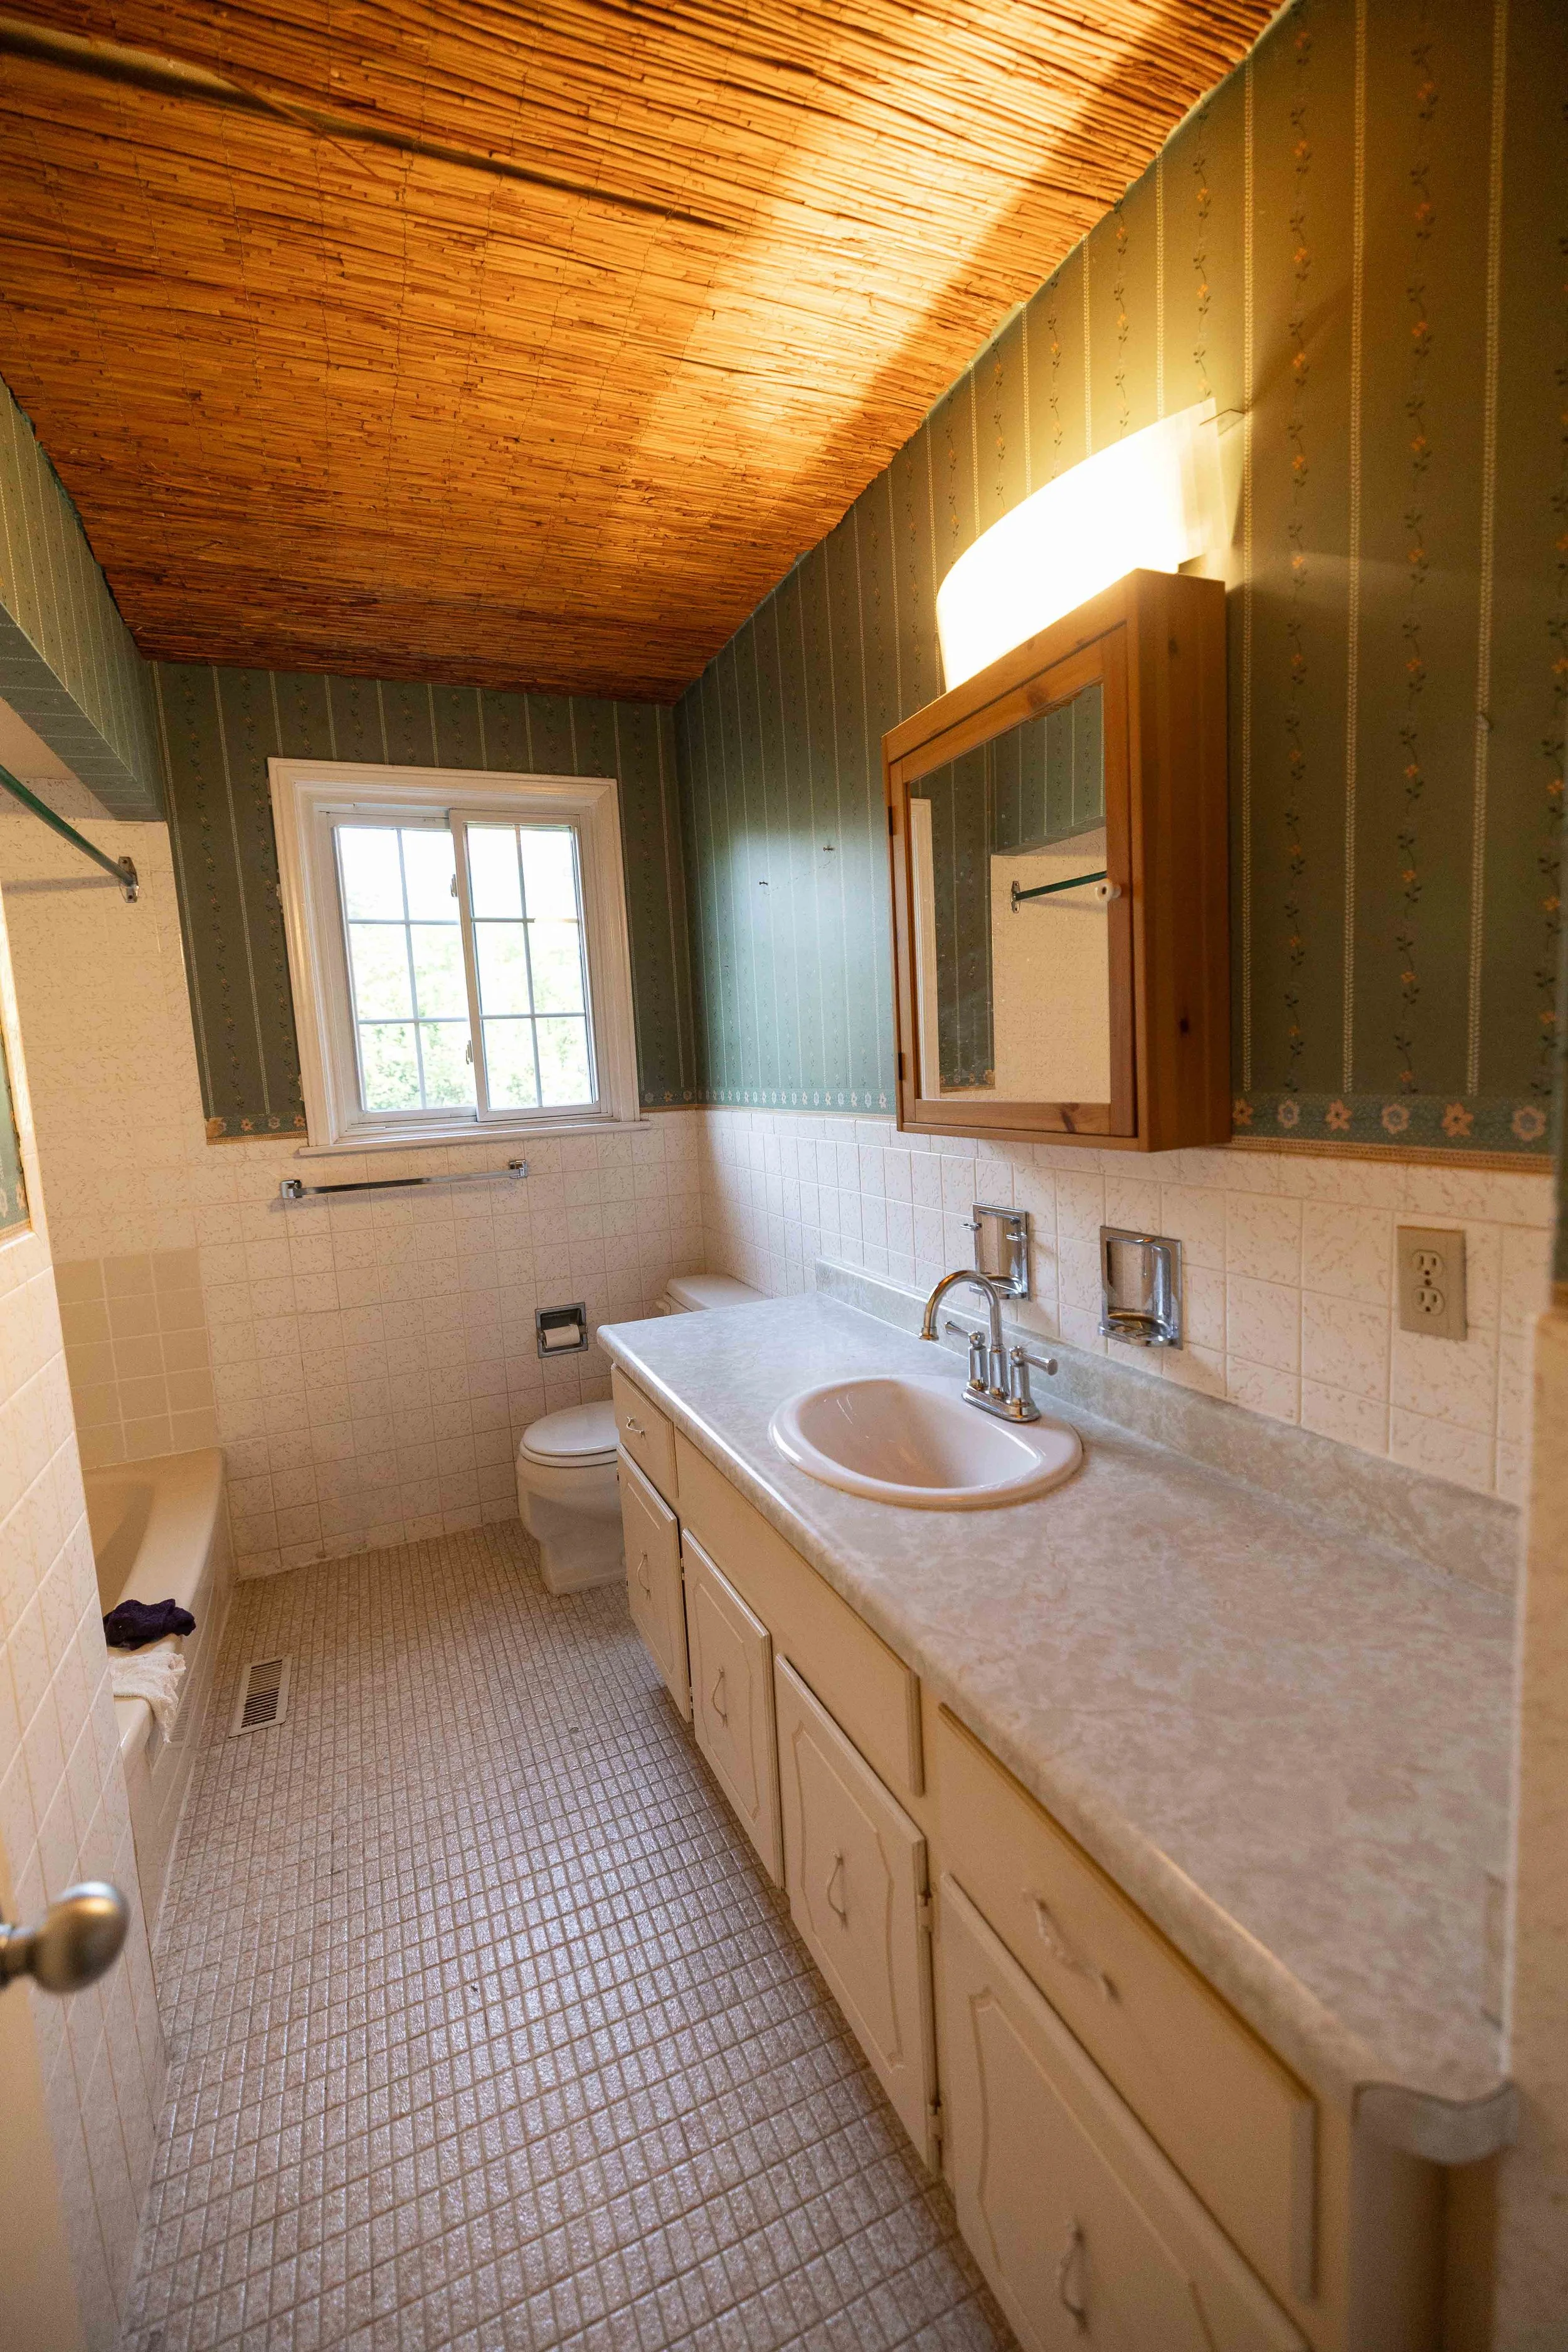
The project at a glance
- Location: Centennial Park area, Etobicoke
- Type: Full bathroom renovation, day one
- Day one work: Protecting the home, removing the medicine cabinet and vanity, and opening the walls around the tub and shower
- Full photo set: See the Etobicoke bathroom demolition project page
The starting point
The "before" photos show a bathroom that had done its job for a long time: a long built-in vanity with a solid countertop, a medicine cabinet, a tub with a tiled surround, tiled walls, and a wood plank ceiling. Nothing about it was broken in a dramatic way. It was simply time for a new layout and new finishes.
Step 1: Protect the house before anything comes out
Before a single screw came out of the bathroom, the crew laid floor protection from the entry, down the hallway and up the stairs. Demolition means carrying old cabinets, countertops and debris through the rest of the house, and finished floors and stair treads are easy to scratch or dent.
Protection takes time on day one, but it is time well spent. It keeps the job contained to the room being renovated, and it means the rest of the home still looks the way the homeowners left it.

Step 2: Remove fixtures and cabinets in order
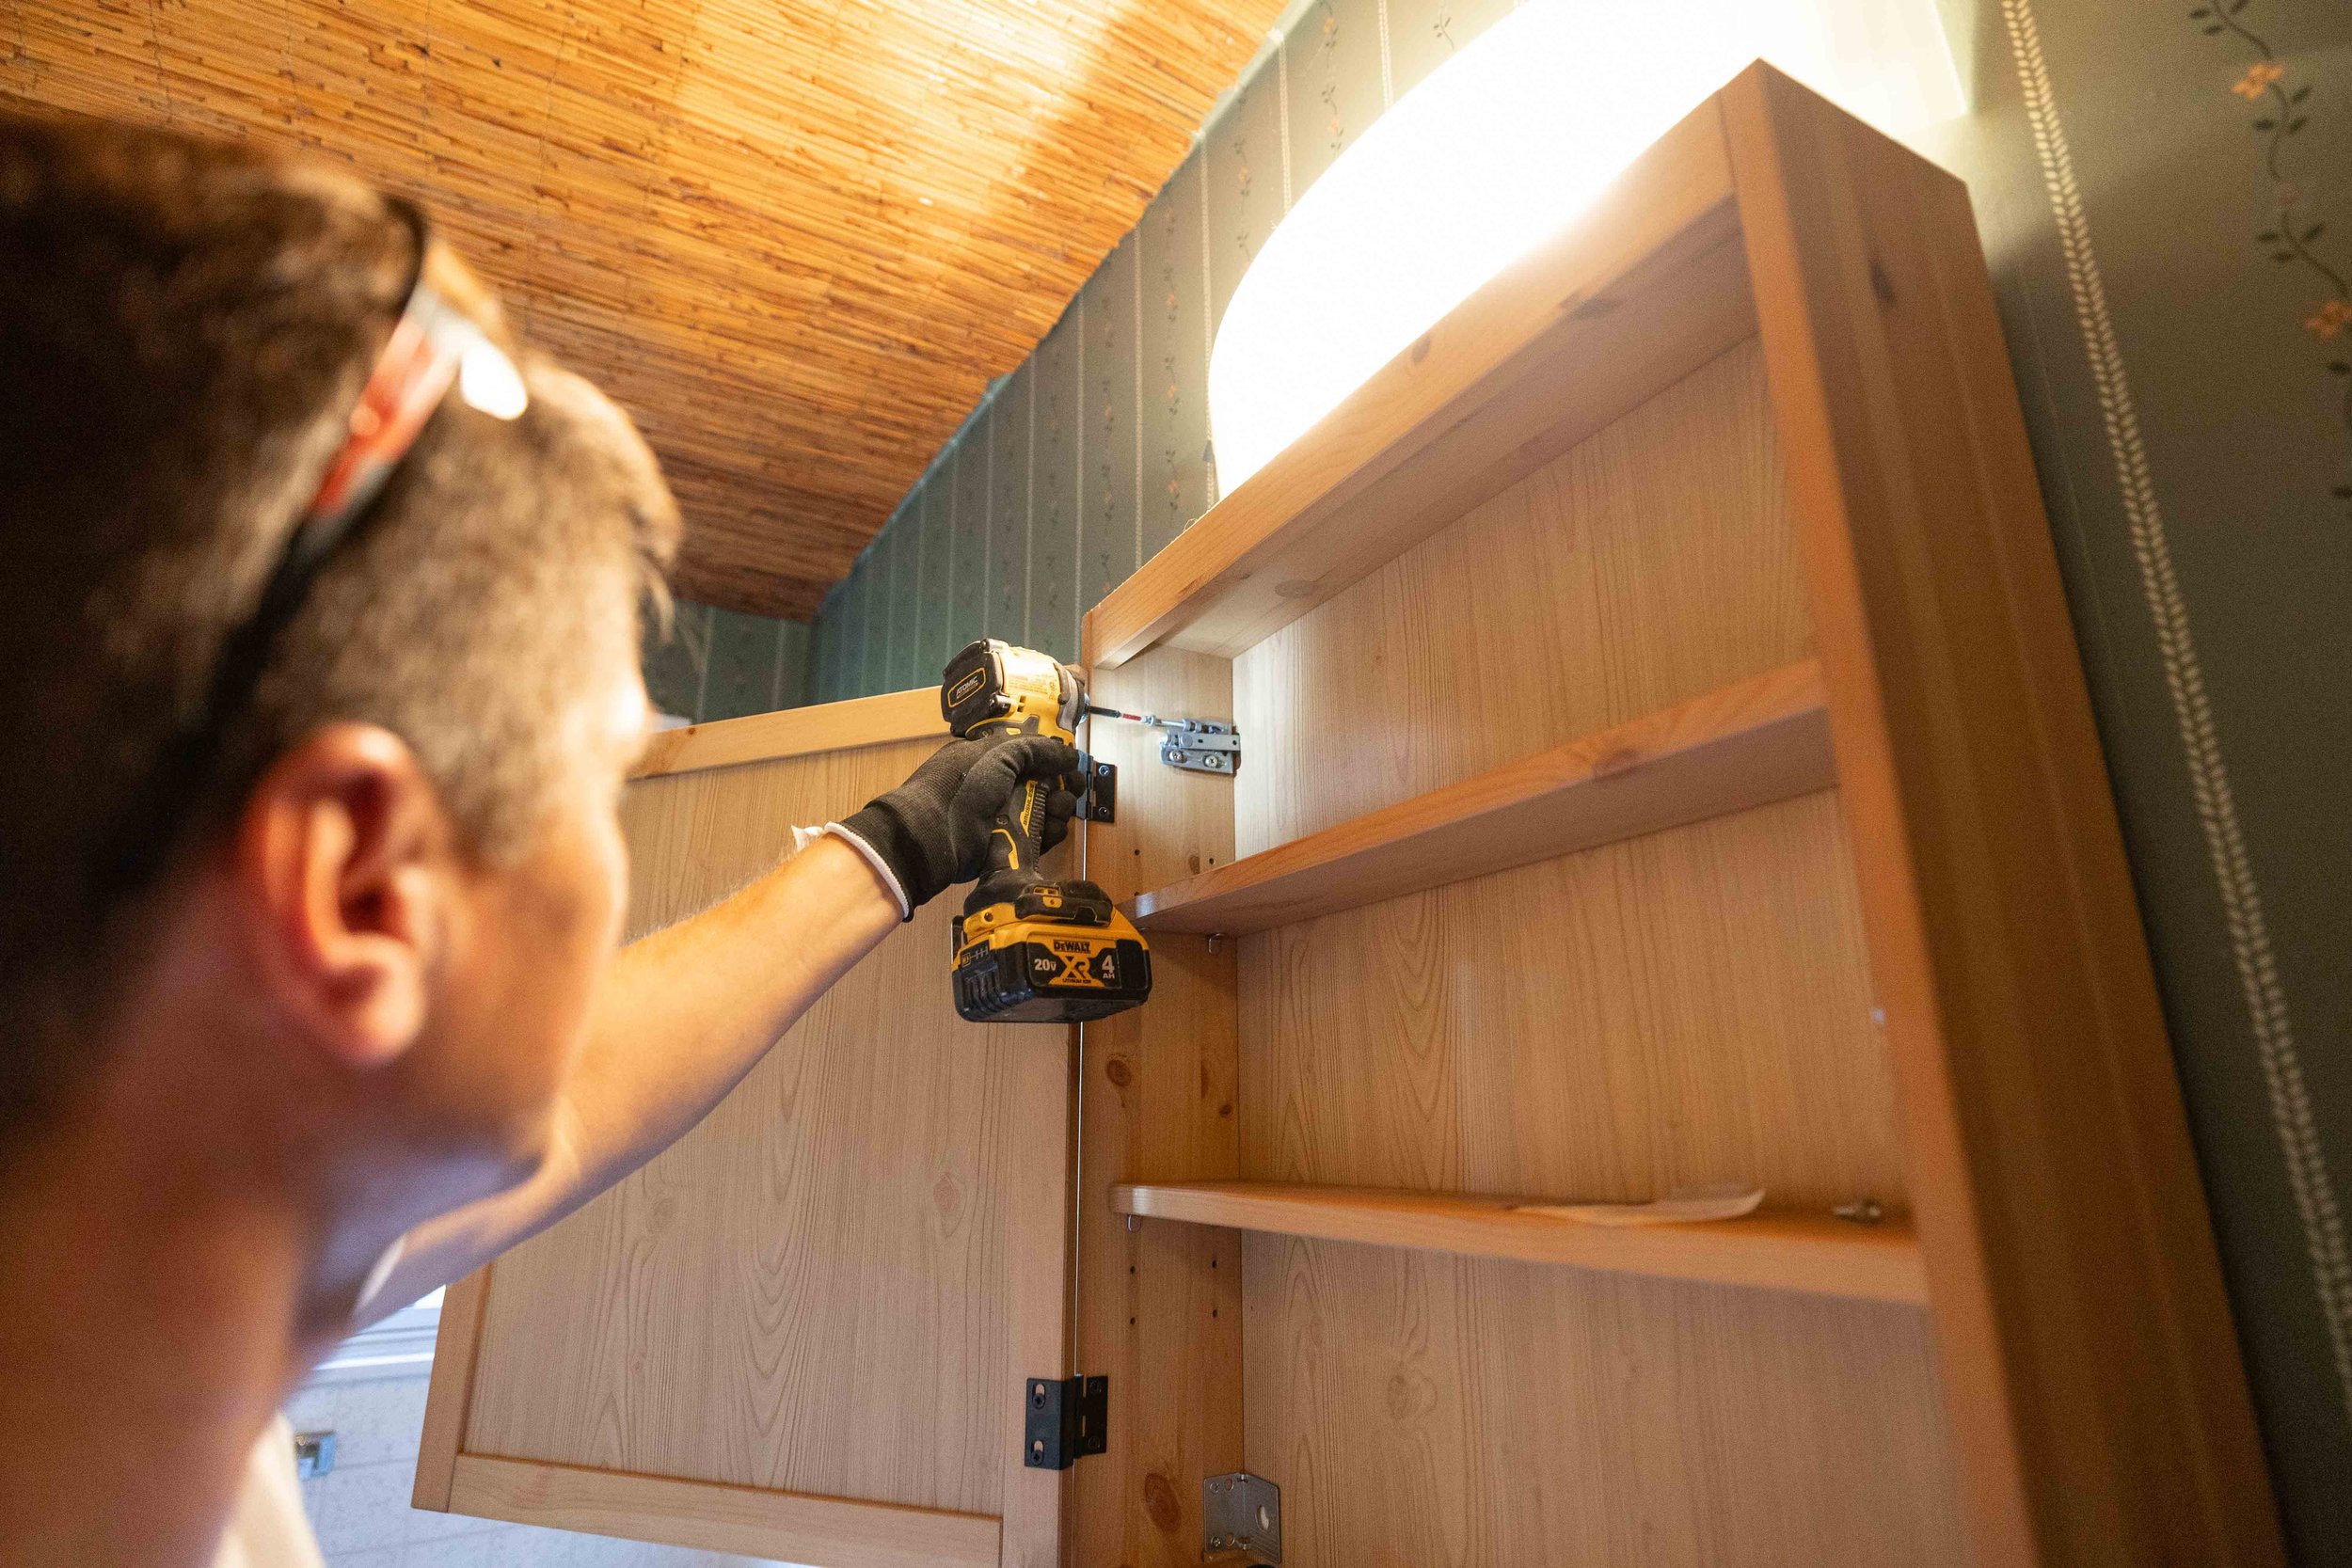
With the path protected, the crew started with what was mounted on the walls. The medicine cabinet came off first, unscrewed and lifted out in one piece rather than pried off the wall.
Next came the vanity. Doors and drawers were taken out first, which makes the cabinet boxes lighter and easier to handle and shows how the countertop is fastened. Then the countertop was cut loose with a power tool so the vanity could come out in manageable pieces.
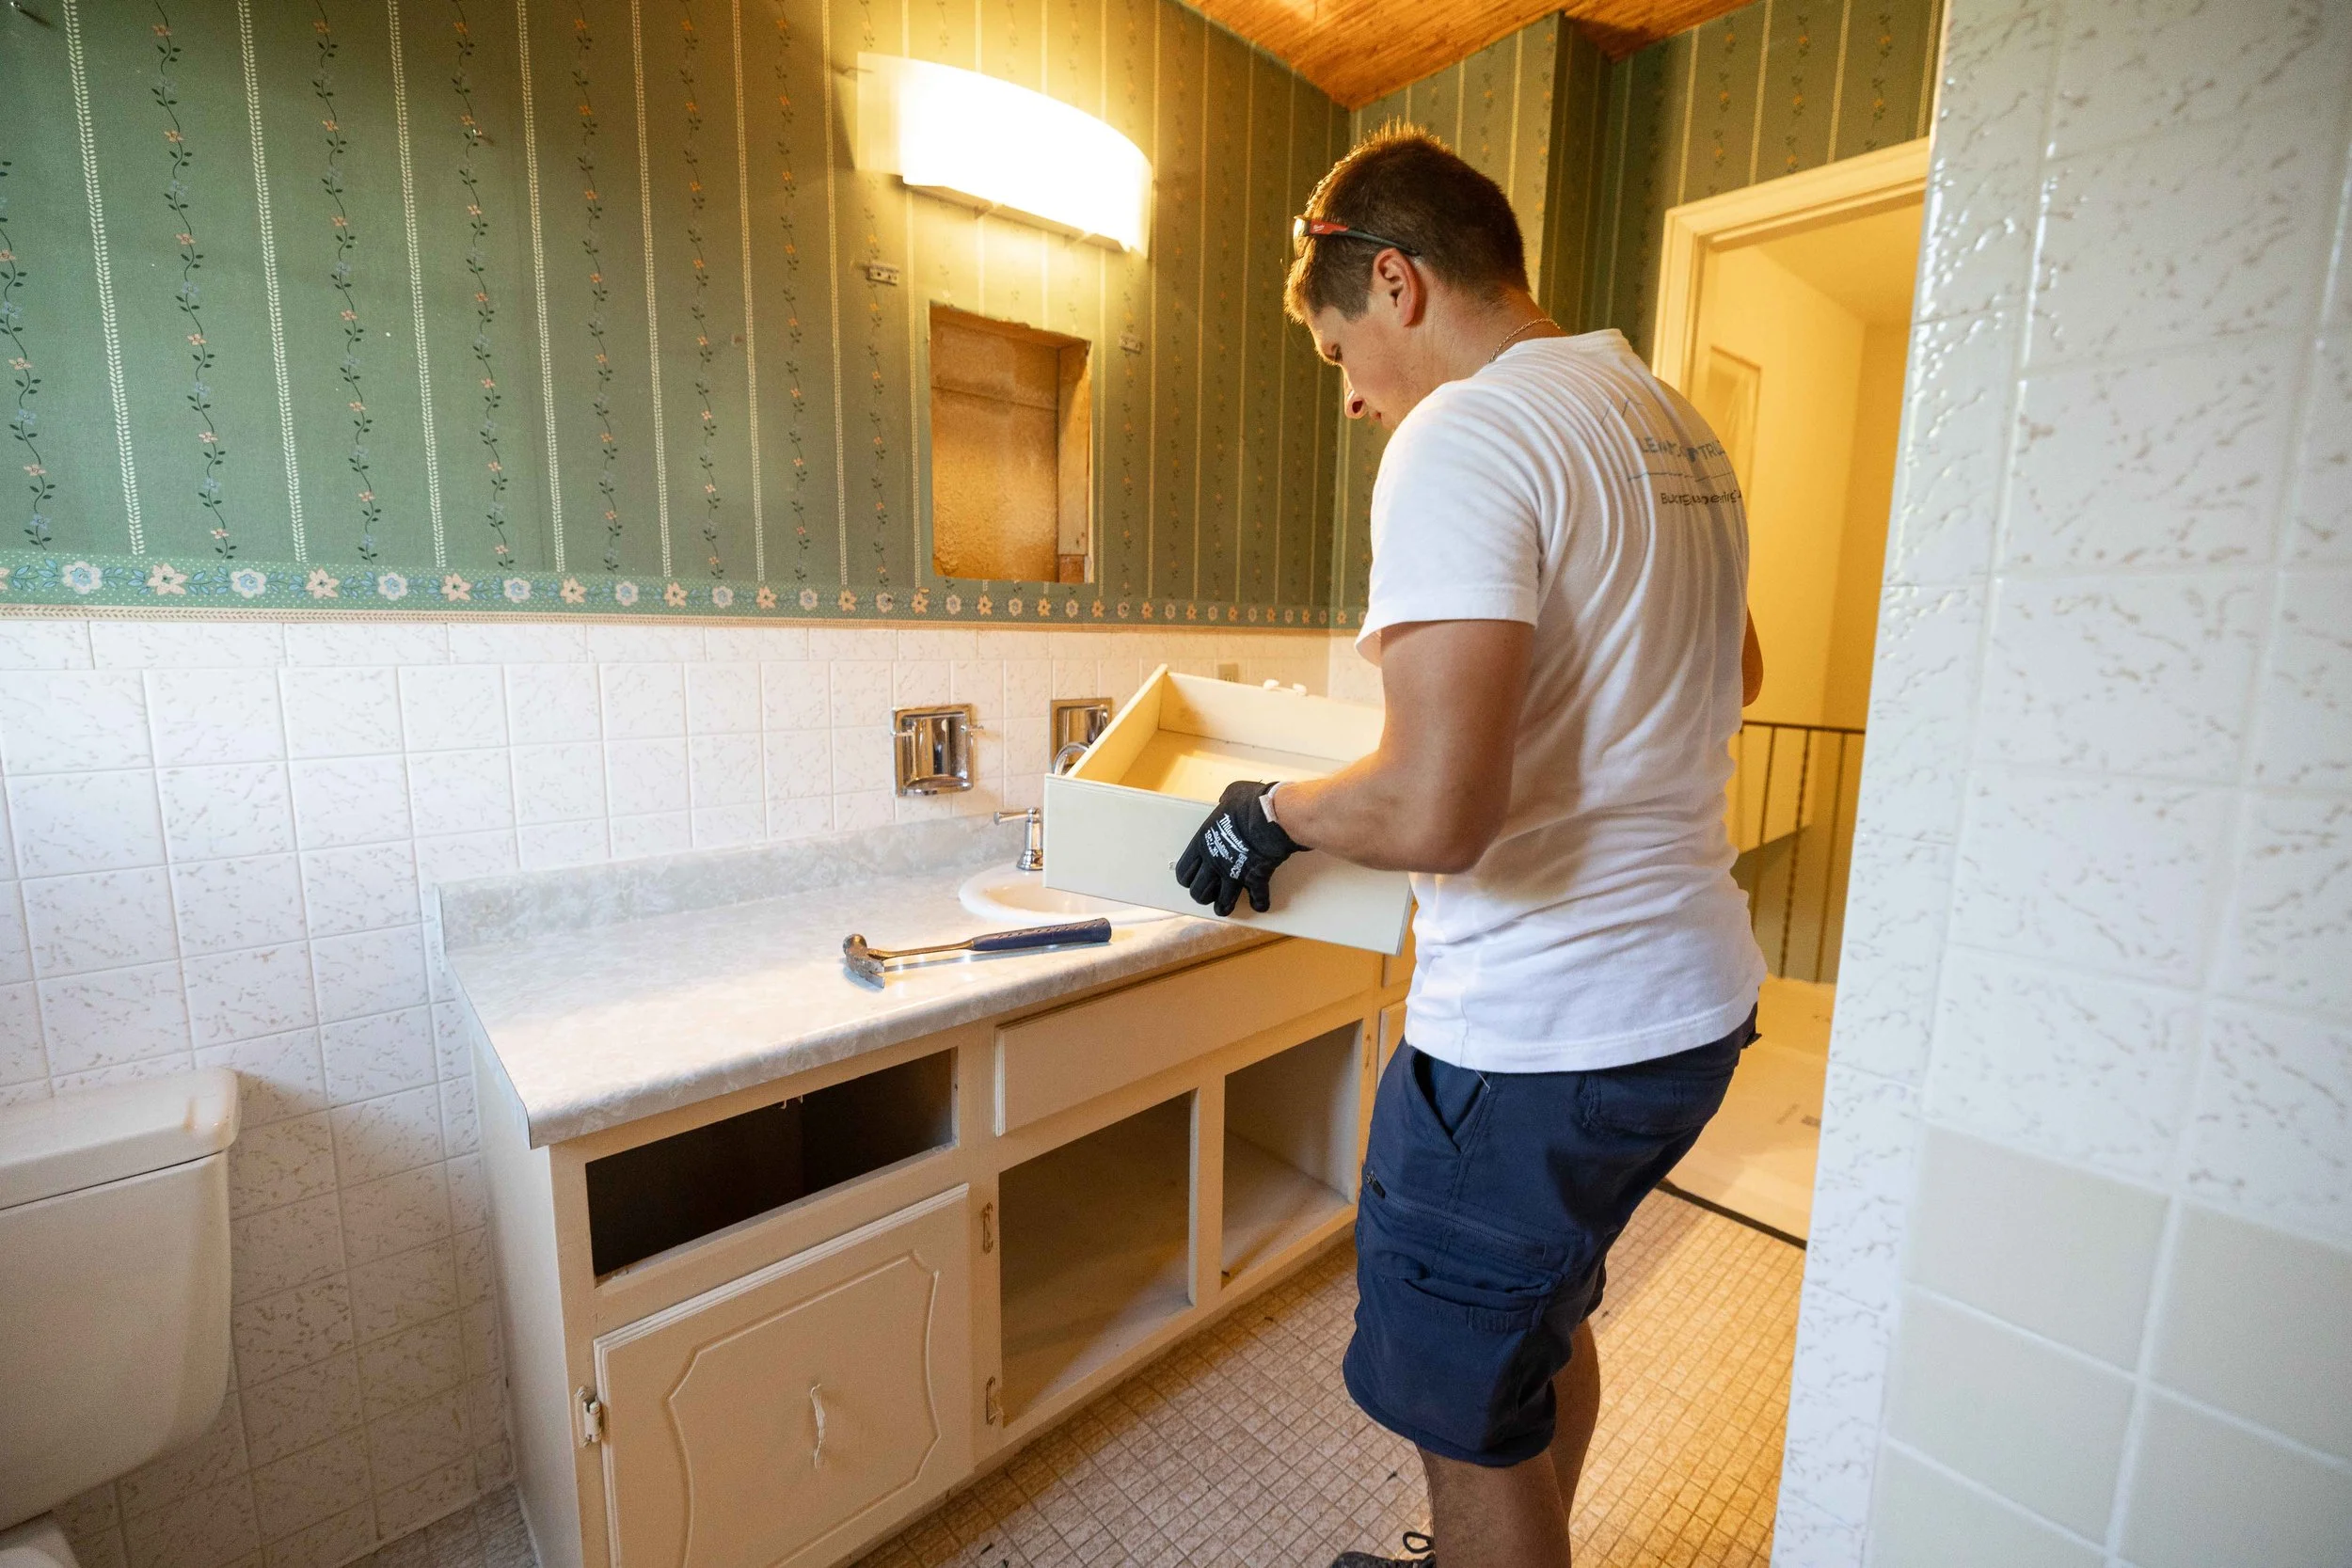
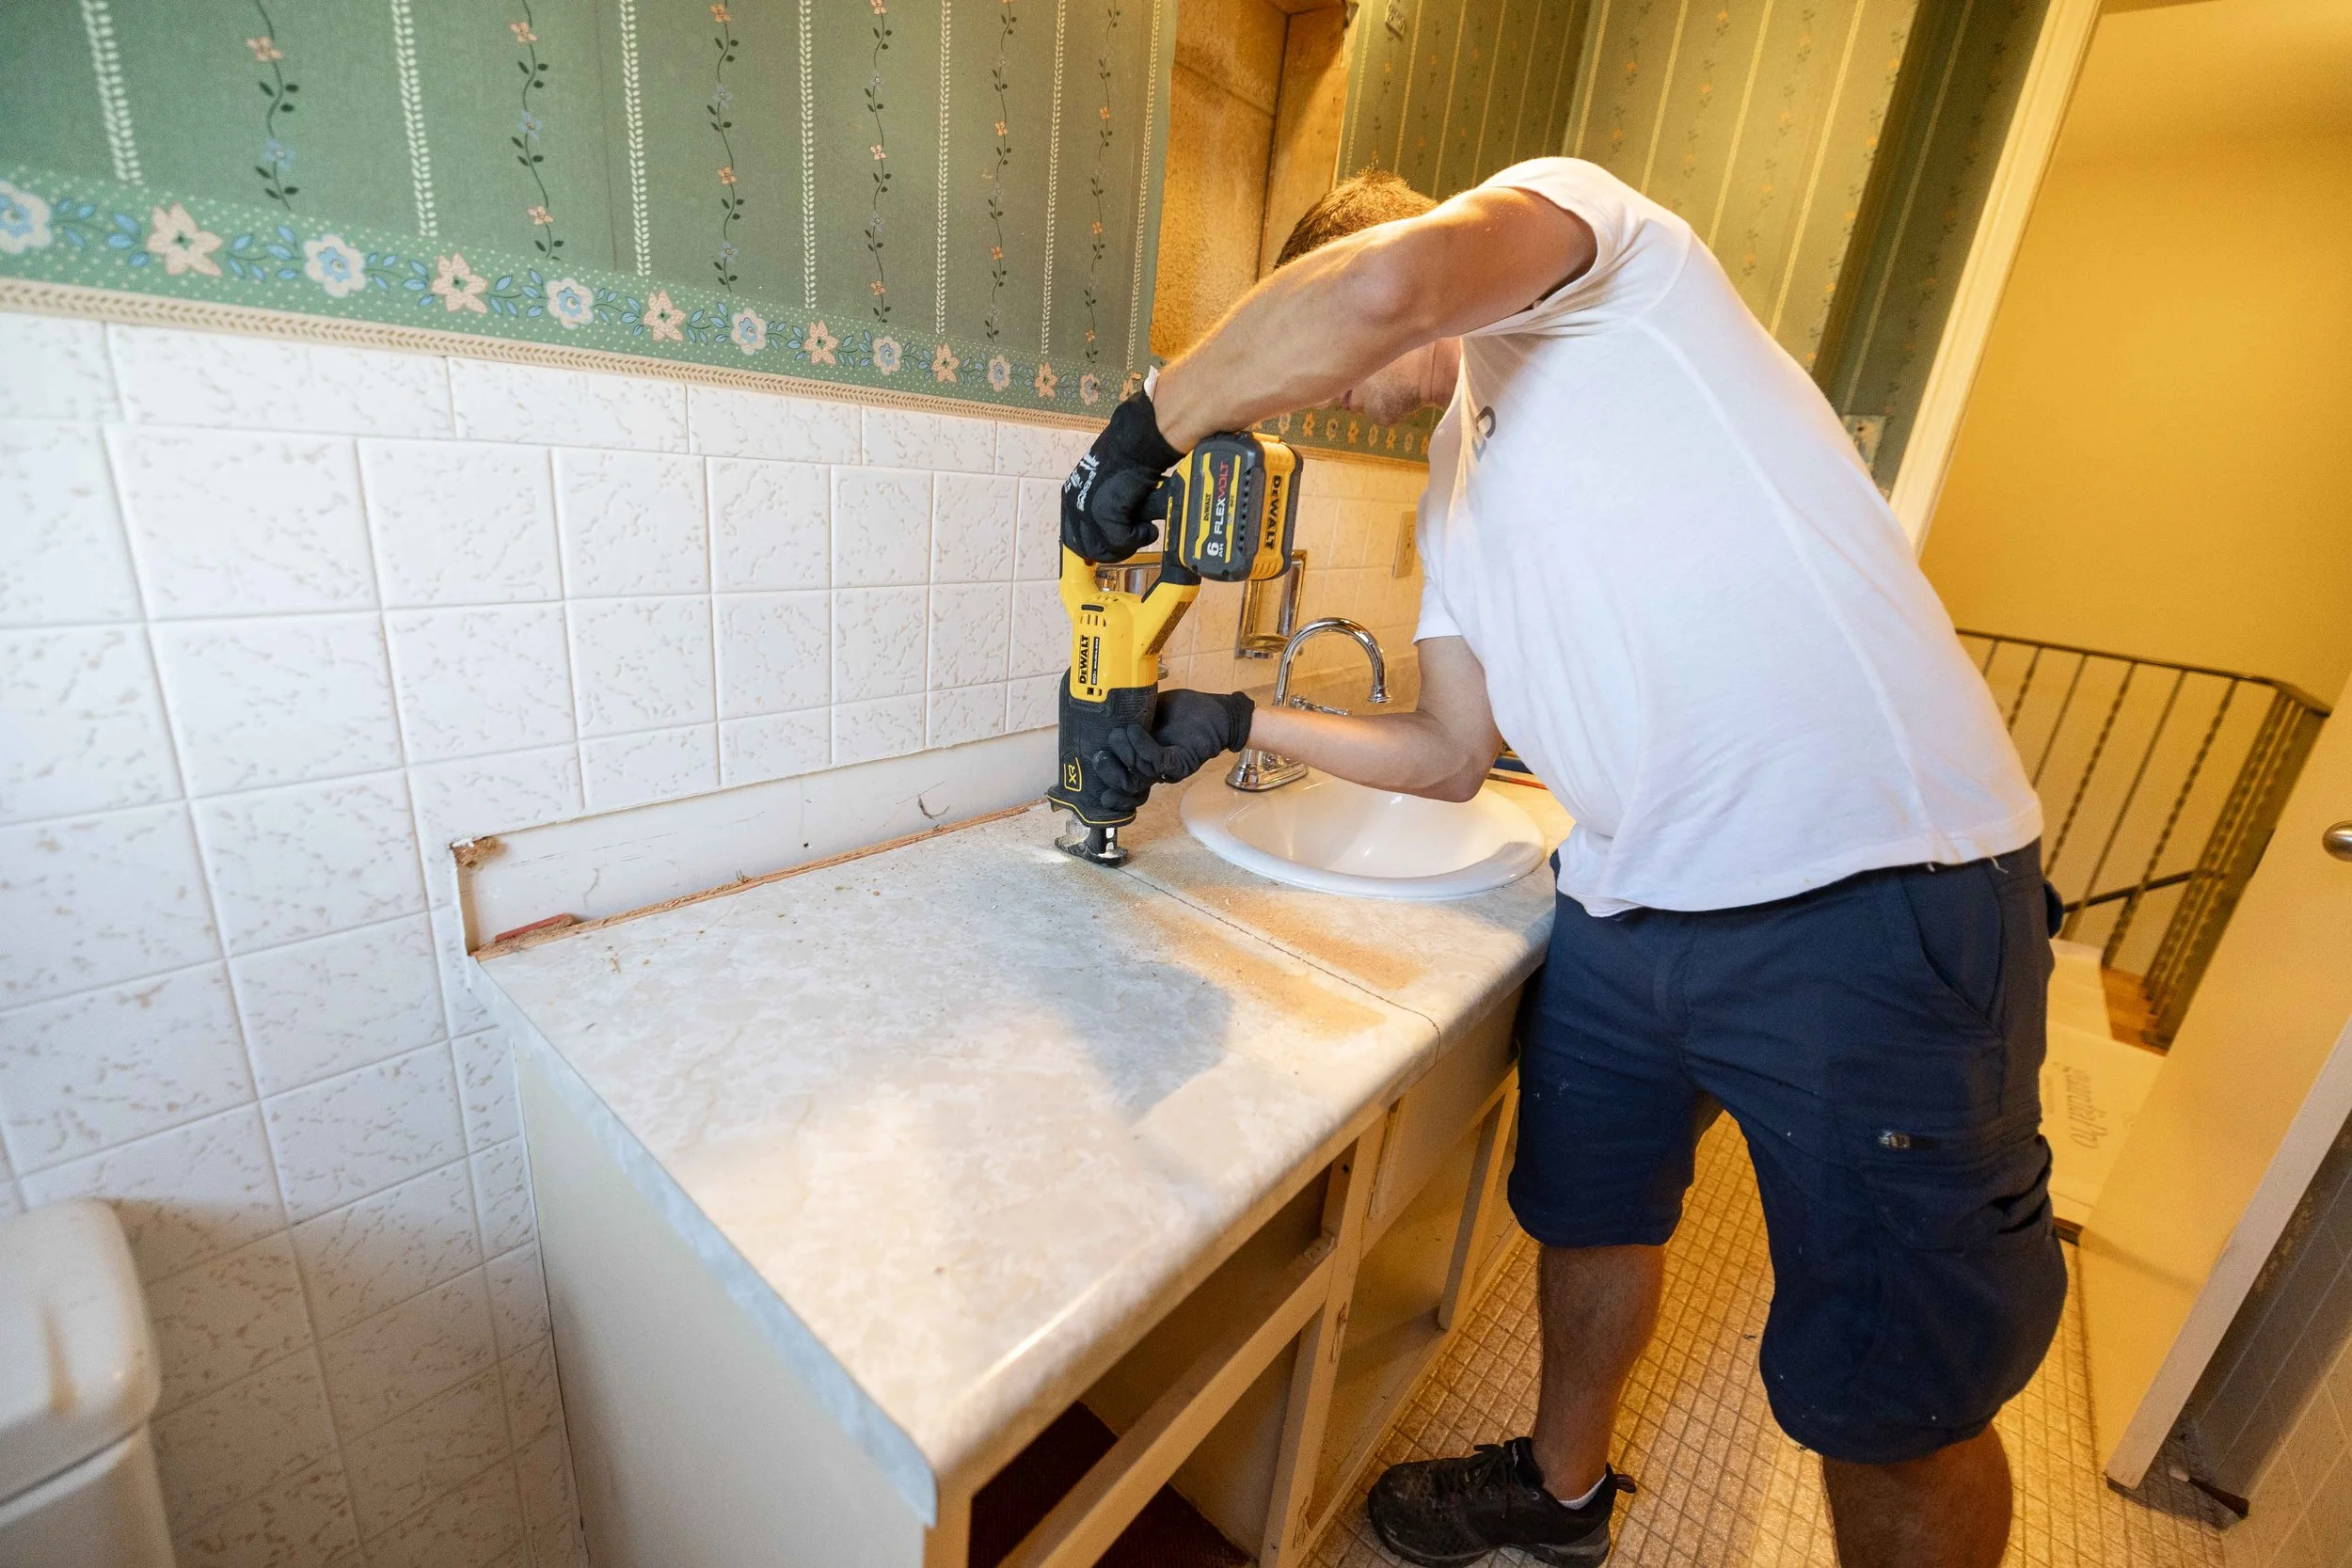
Working in this order is about control. Taking a bathroom apart piece by piece, instead of all at once, keeps the crew safe, keeps damage to the surrounding walls and plumbing to a minimum, and keeps debris manageable for the trip out of the house.
Step 3: Open the walls
Once the vanity was out, the walls around the tub and shower were opened up. The photos show the wall down to the studs, with the shower valve and supply lines exposed.
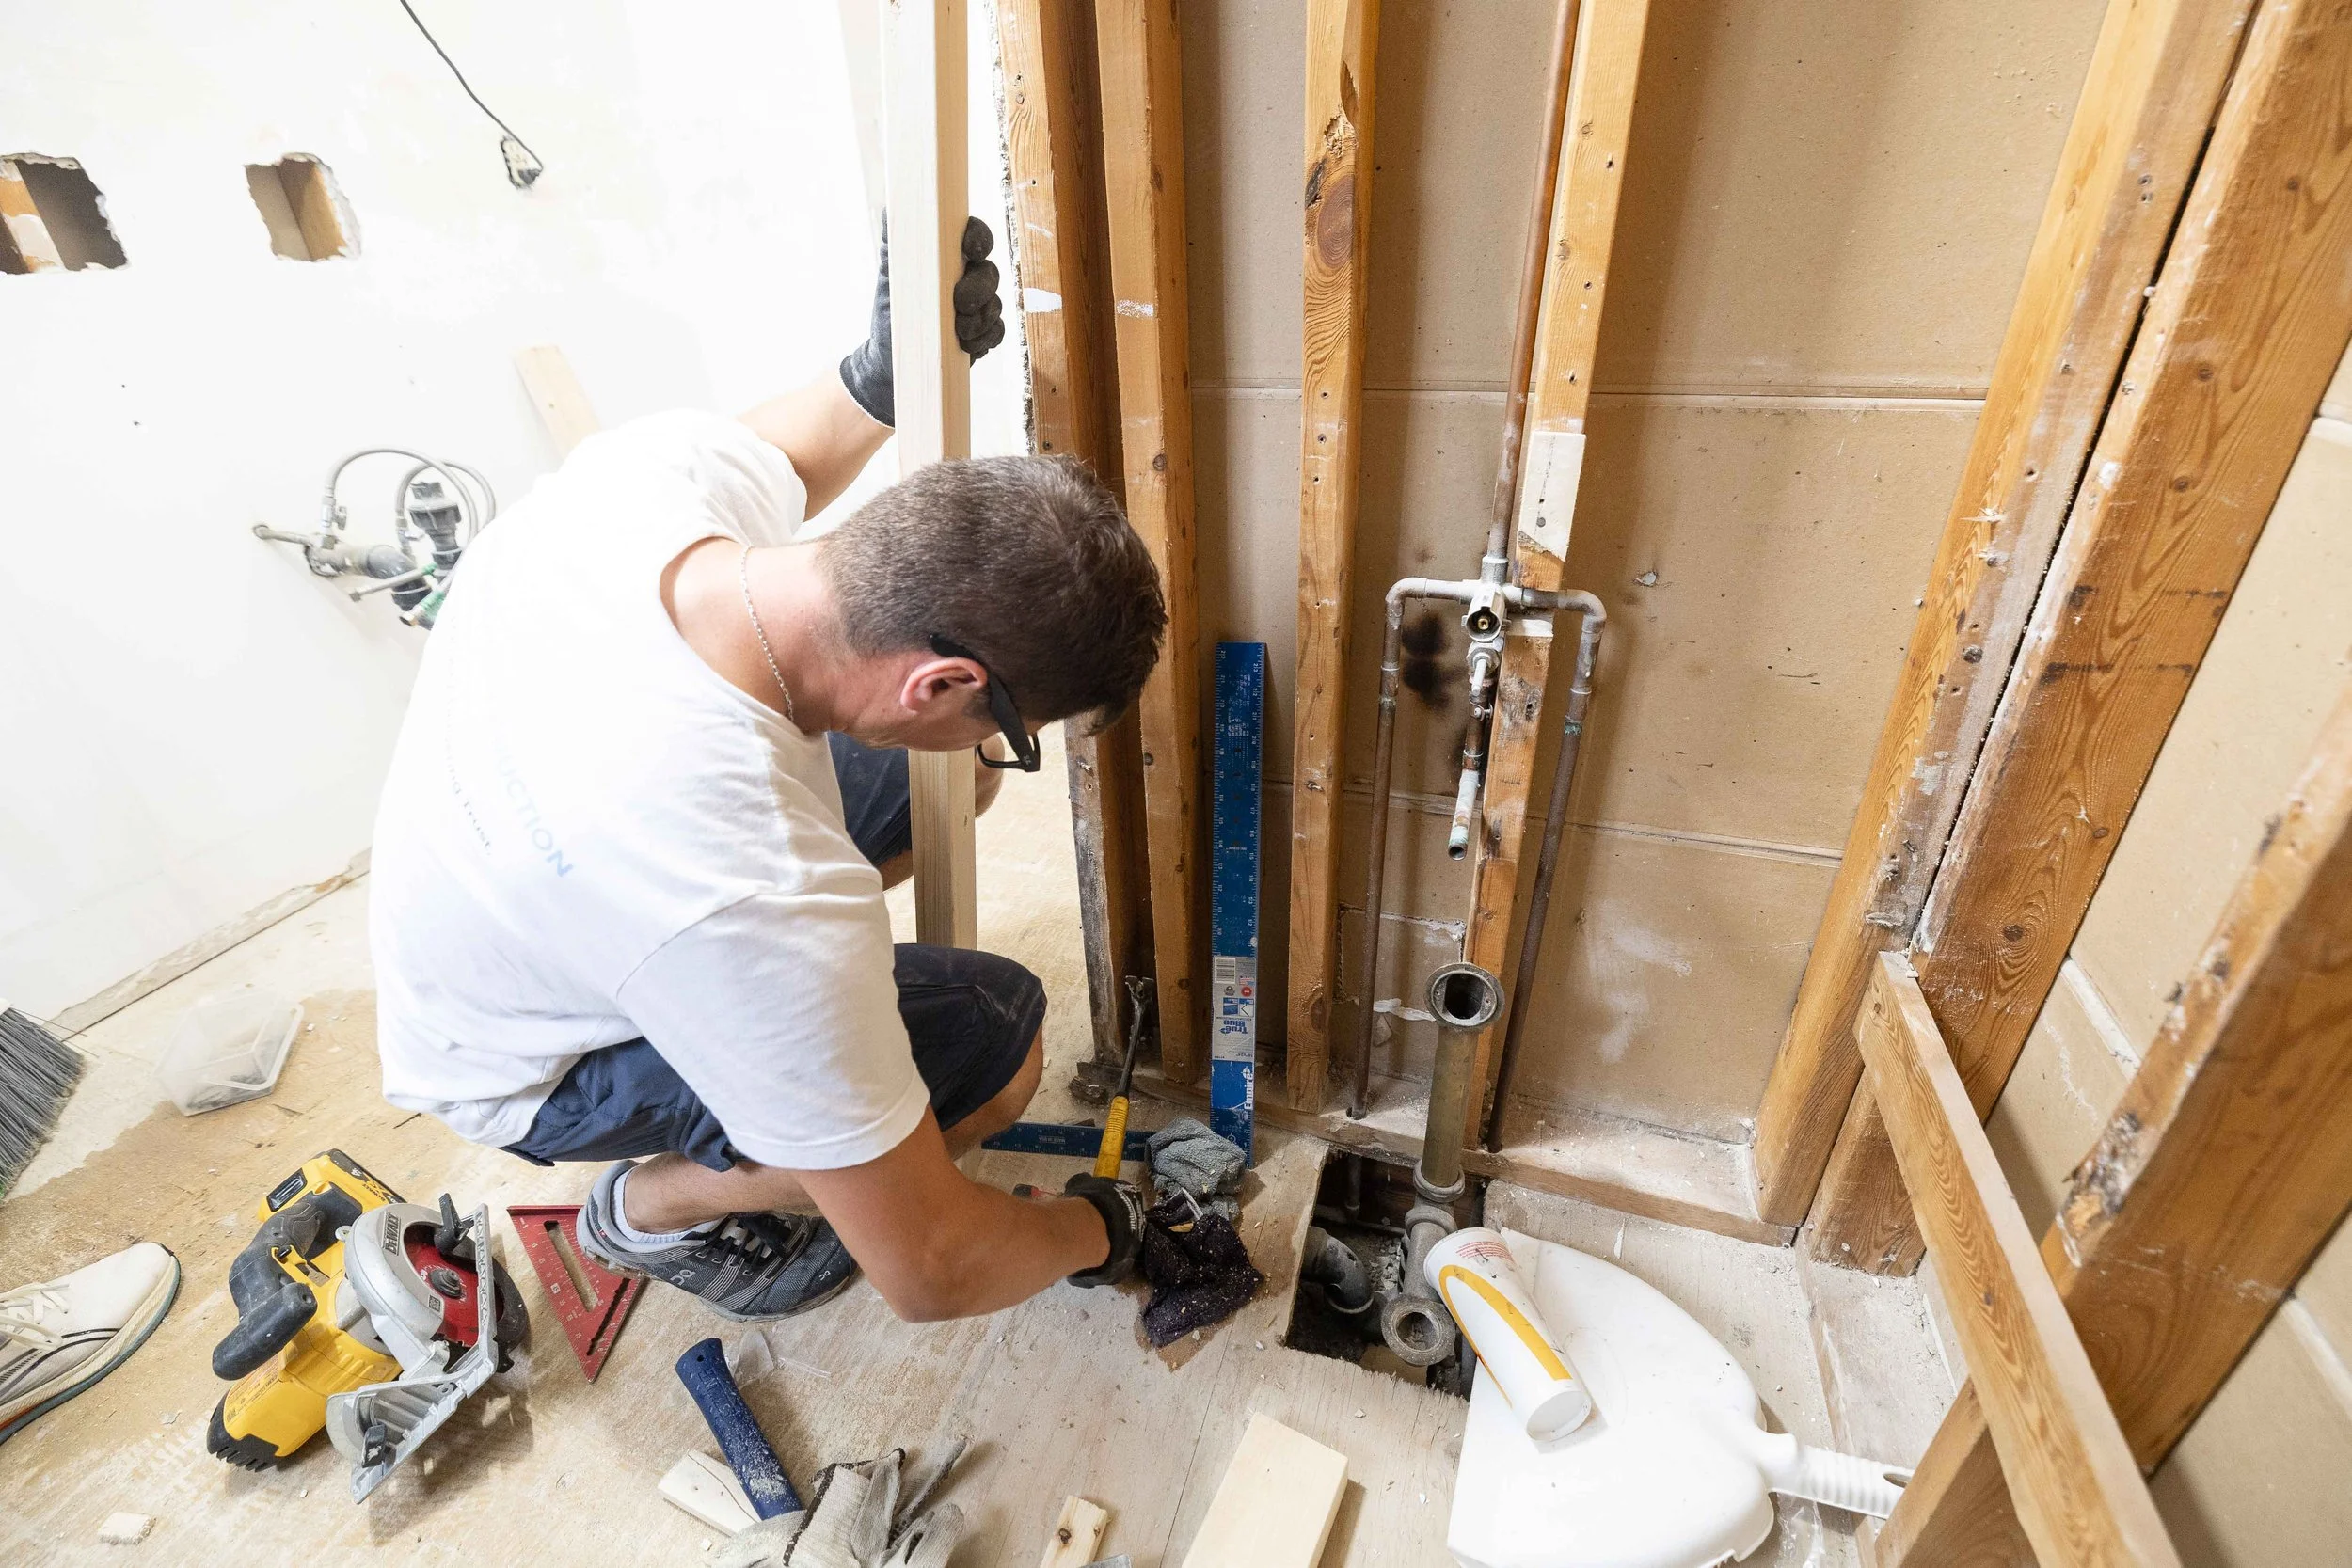
This is the most important moment of a bathroom demolition. Until the walls are open, nobody can see what is behind the tile: how the plumbing was run, what condition the framing is in, and whether there is any hidden damage. Seeing it on day one means any surprises get dealt with before new work covers them up again.
Why demolition sets up the whole renovation
It is tempting to think of demolition as the quick, messy part before the "real" work begins. In practice, it shapes everything that follows:
- It shows what you are really working with. Open walls reveal the plumbing, framing and wall conditions that the new bathroom will be built on.
- It protects the rest of the home. A careful tear out means less cleanup and fewer repairs outside the bathroom.
- It gives the next trades a clean start. Framing, plumbing, insulation and drywall all go faster when the room has been taken back cleanly.
From here, a renovation moves into the rebuild: framing and support, plumbing, and then the layers behind the tile. If you want to see what happens behind the walls before finishes go on, read our post on drywall and shower waterproofing before finishes. Planning your own budget? Our guide to small bathroom renovation cost in Toronto covers the main cost factors, and our renovation timeline and permits guide explains how the stages fit together.
Thinking about a bathroom renovation?
Levand Construction handles full bathroom renovations across Toronto, Etobicoke, Mississauga and the wider GTA, from protection and demolition through to the final finishes. If your bathroom is ready for a change, contact us to talk about your project.
FAQ
What happens on the first day of a bathroom renovation? On this Etobicoke job, day one was demolition. The crew protected the floors and stairs on the path to the bathroom, removed the medicine cabinet and vanity, and opened the walls around the tub and shower. Demolition was almost finished by the end of the day.
Why protect floors outside the bathroom? Old cabinets, countertops and debris get carried through the house during demolition. Floor protection on hallways and stairs helps prevent scratches and dents on finished surfaces.
Why open the walls during demolition? Opening the walls shows the plumbing, framing and wall conditions behind the old tile, so any issues can be handled before the new bathroom is built over them.
Does Levand Construction work in Etobicoke? Yes. Levand Construction is based in Etobicoke and works across Toronto, Mississauga and the wider GTA.
